Learning how to do a split is a key flexibility milestone in gymnastics, dance, and many fitness routines. While it may seem challenging at first, achieving a full split is possible with the right approach and dedication. In this guide, we’ll break down the steps to safely and effectively improve your flexibility, strengthen key muscles, and work toward mastering a perfect split. Whether you’re a beginner or looking to refine your technique, these tips will help you progress at your own pace while minimizing the risk of injury. Ready to get started? Let’s dive in!
Make sure you download our flexibility challenge to help you get your splits in 30 days, or at least improve them!
How To Do a Split (Front & Middle) – Safe Step by Step Guide
What is a split?
A split is defined as any front or side body position in which the legs are extended apart as far as possible in opposite directions with the ideal angle of the legs being 180º.

Types of Splits in Gymnastics
There are 3 types of splits in gymnastics – left leg split, right leg split and middle split.
Right – A right leg split has your right leg in front with your right knee facing the ceiling and your left leg behind you with your left knee touching the floor. You should be sitting with your chest up, your shoulders pressed down and your hips square (or facing forwards).
Left – A left leg split has your left leg in front with your left knee facing up towards the ceiling and your right leg behind you with your right knee touching the floor. You should be sitting with your chest up, your shoulders pressed down and your hips square (or facing forwards).
Middle – A middle split or a center split has both of your legs out beside you. Sometimes you have your stomach on the ground and sometimes you sit up.
Why is a split important?
Having a flexible split can improve your gymnastics skills. For example, your leaps, jumps, and any gymnastics skill where you split your legs! Learn more about how to improve your flexibility in gymnastics.
How to do a Split Step by Step
Let’s break it down:
Step 1: Start on Both of your Knees in a Kneeling Position on the Ground

Step 2: Bring one leg out in front in a Low Lunge Position
You want to bring the one that is more comfortable, or your “good leg” out in front of you.

Step 3: Put your Hands on the Floor
Put your hands on the floor, one on either side of your front leg.

Step 4: Slide down into your split
You want to slowly slide down into your split as far as you can go without it hurting.

Step 5: Hold your Split
The last step is to hold your split. Beginners typically hold for 10 seconds, intermediate for 30 seconds and advanced gymnasts for 60 seconds.

4 Ways to Improve Your Splits & Leg Flexibility
- Active Flexibility – Active flexibility exercises are the best way to improve your flexibility and range of motion. One example of these would be kicks forwards, sideways and backwards. You can start with 10 each direction.
- Static Flexibility – Static flexibility is when you hold stretches. Holding your splits is a static flexibility exercise that will help you improve.
- Self Massage/Foam Rolling – Studies suggest that self massage or foam rolling may increase flexibility after completing daily for 2 weeks. You can foam roll your hamstrings, quads and calves. You can purchase the one in the video here!
- Staying Hydrated – Some studies suggest that increasing the amount of water you drink will lead your body to be more relaxed, therefore increasing your flexibility and mobility.
Split Progressions
- Half Split – Just do a partial split to where you start feeling slight tension.
- 3/4 Split – As you get more comfortable and flexible, complete a 3/4 split.
- Full Split – Complete a full split with your legs fully flat on the floor.Tools such as booster blocks, pillows, or straps can help support your stretches and ensure proper alignment.
Tips for a Perfect Split
- Take it Slow – You want to take it slow and only go as far as you can without it really hurting. You don’t want to hurt yourself.
- Do it with Proper Form – You want to have your back knee touching the ground (your back leg facing under) and then your front knee should be facing the ceiling. Your chest should be up and your shoulders pressed down.
- Practice Makes Perfect – You won’t get your splits overnight. Keep practicing and improving your flexibility and you will eventually get them!
Key Muscles Involved in a Gymnastics Split
The split requires the use of many muscles, including the hamstrings, hip flexors, quadriceps, adductors, glutes and calves. These muscles all aide in different aspects and types of splits. For example, flexibility in the hamstrings is crucial for achieving the straight leg position required in both front and side splits. Tight hip flexors and lack of hip flexibility can hinder your ability to extend the rear leg fully in a front split. Flexibility in the quadriceps allows for a deeper and more comfortable split, particularly in the front leg of a front split. Flexibility in the adductors is essential for side splits, as these muscles allow the legs to open wide. Strong and flexible glutes support the pelvis and help maintain balance during splits. Flexibility in the calves is necessary for a pointed toe position, which is essential for the aesthetic of the split.
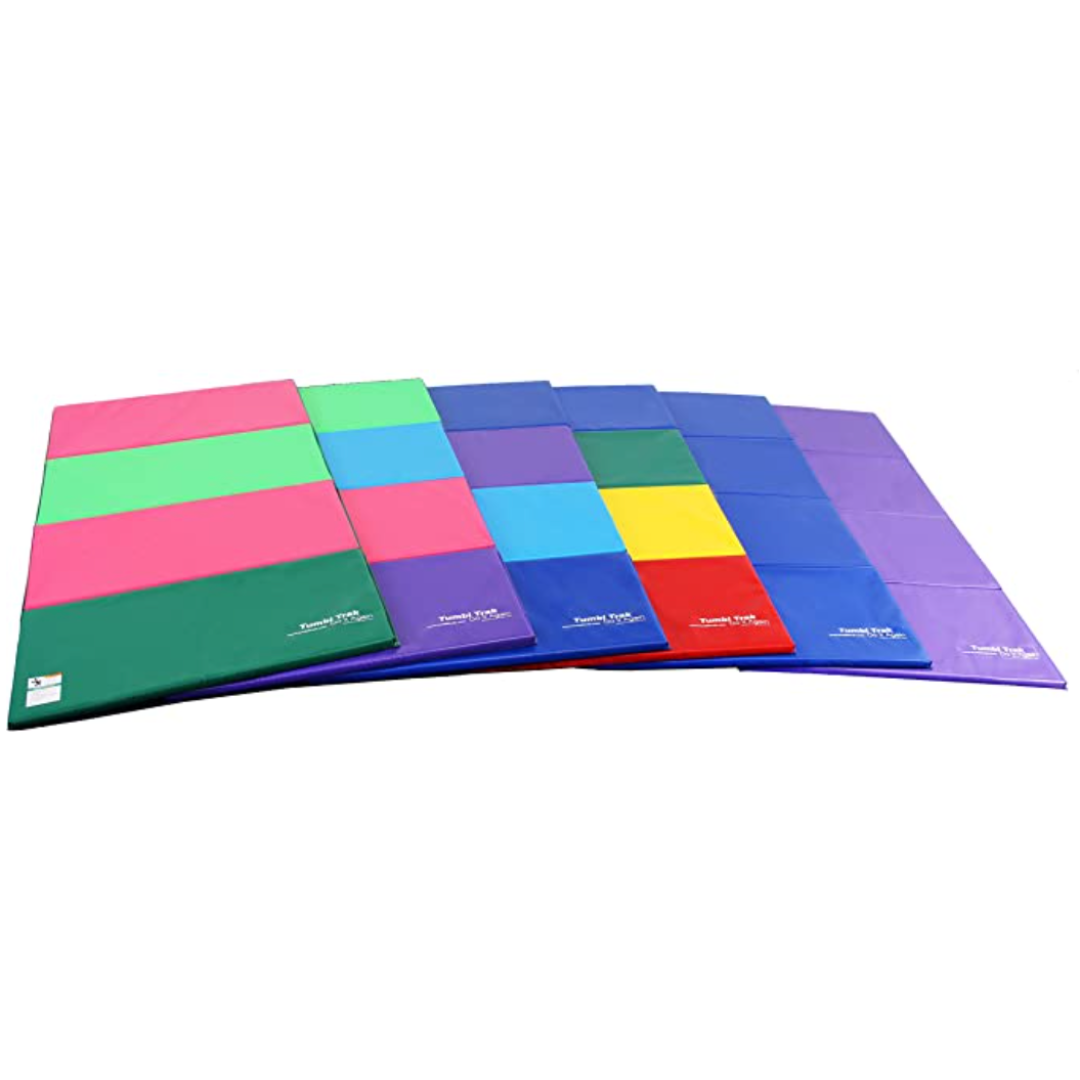
Check out the home gymnastics equipment we recommend for practicing gymnastics at home. We have linked what we recommend for learning a split below.
Tools for Learning a Split in Gymnastics |
Description |
Price |
| Panel Mat
|
A panel mat is a helpful tool that provides a softer surface than the floor to learn your bridge so you don’t hurt yourself. | Check Current Price Here |
| Wedge Mat
|
When first learning a split it’s useful to do them on a wedge mat. | Check Current Price Here |
| Booster Block
|
Using a booster block/yoga block when learning a split can be helpful to stretch. | Check Current Price Here |
| Foam Roller
|
A foam roller can help stretch and self massage to improve your flexibility. | Check Current Price Here |


Common Mistakes to Avoid
- Skipping Warm-Up: Failing to warm up properly can lead to muscle strain and injury. Always prepare your body with a thorough warm-up.
- Incorrect Form: Ensure your hips are square and facing forward to maximize the effectiveness of the stretch and prevent injury.
- Forcing the Stretch: Pushing too hard can cause muscle tears. Stretch to the point of mild discomfort, not pain.
Drills & Stretches to Help You Learn a Split
- Hamstring Stretches
- Seated Forward Bend: Sit with legs extended and reach for your toes, keeping your back straight.
- Standing Forward Fold: Stand with feet together and bend forward at the hips, reaching for your toes.
- Hip Flexor Stretches
- Lunge Stretch: In a lunge position, push your hips forward to stretch the hip flexors of the rear leg.
- Butterfly Stretch: Sit with feet together and knees bent, pressing your knees toward the floor.
- Quadriceps Stretches
- Standing Quad Stretch: Stand on one leg and pull the opposite foot towards your buttocks, keeping your knees together.
- Lying Quad Stretch: Lie on your side and pull your top foot towards your buttocks.
- Adductor Stretches
- Side Lunge: Spread your legs wide and shift your weight to one side, bending the knee and stretching the inner thigh.
- Frog Stretch: On all fours, spread your knees wide apart and push your hips back.
- Glute Stretches
- Pigeon Pose: From a plank position, bring one knee forward and place it behind your wrist, extending the other leg back.
- Figure Four Stretch: Lie on your back, cross one ankle over the opposite knee and pull the uncrossed leg towards you.
- Calf Stretches
- Downward Dog: From a plank position, lift your hips up and back, pressing your heels towards the floor.
- Wall Calf Stretch: Place your hands on a wall and step one foot back, keeping it straight and pressing the heel down.
Split FAQs
Q: What is a Split in gymnastics?
A: In gymnastics, a split is a position where the legs are stretched out to the sides forming a line with the torso. It is a fundamental skill that requires flexibility and strength in the legs and hips.
Q: How can I improve my flexibility to achieve a perfect split?
A: To improve your flexibility for a split, incorporate regular stretching exercises targeting your legs, hips, and lower back. Consistent practice, patience, and proper warm-up are key to achieving a perfect split.
Q: What are some tips for beginners to work towards doing a split?
A: Beginners can start by gradually increasing their flexibility through stretching exercises. It is important to listen to your body, avoid pushing yourself too hard, and seek guidance from a qualified coach or instructor to learn proper techniques.
Q: Are there specific exercises that can help me achieve a split faster?
A: Yes, exercises such as lunges, hamstring stretches, butterfly stretches, and side splits can help improve your flexibility and get you closer to achieving a split. Consistency and proper form are essential for progress.
Q: How long does it take to master the split?
A: The time it takes to master a split varies for each individual depending on their current level of flexibility, dedication to practice, and overall physical condition. With regular practice and proper guidance, some may achieve a split in weeks, while others may take months to accomplish this goal.
Q. How can I make my splits perfect ?
A. To improve your splits and make them perfect, make sure your hips are square and facing forwards in both front splits and your middle split. You want your knees pointing towards the ceiling and your feet pointed.
Q. How can I get better at doing the splits?
A. The first step is to do active flexibility drills like kicks to try to improve your range of motion. Your flexibility will improve over time, so this isn’t something that can be rushed! Then stretch and practice holding your splits with good form- legs straight, knees pointed up, toes pointed.
Q. Can anyone learn to do the splits?
A. Yes, anyone can do splits, but first you have to improve your flexibility. Improving your flexibility is something that takes weeks and months, it doesn’t happen overnight!
Q. Is it bad to be pushed down in a split?
A. It can be. Being over stretched in a split, or more aggressively stretched can cause soft tissue tears which cause injury.
Q. Which split is the hardest to achieve?
A. The middle split is typically the most difficult split to achieve. This isn’t only because its not used quite as much in daily gymnastics, despite it requiring fewer muscles utilized to actually complete the split.
Q. Are splits good to do when you’re older?
A. Yes! Splits are great for your joint health – they improve flexibility and in turn can help with your balance. These are important and beneficial as we age.
Q. Is strength training better than flexibility training?
Our SkillTrakker program will help you increase your mobility and flexibility in just 15 minutes a day! Join us today!

11 Comments
Hi pls post about giants
idk how this is going to help, going to try it tn!
UUUUMMMMM… IDK i bend this way
Fantastic guide! Clear and easy-to-follow steps for mastering the split.
Really enjoyed this post. It’s motivating, well written, and easy to appreciate. Wishing you continued growth and success in everything rbtv you do.
I took a look at the Dota 2 section on csgototem and it seems like a well-organized resource for anyone interested in esports gambling. Even though much attention now goes to CS2, it’s good to see Dota 2 still covered with relevant insights. The platform keeps things simple, which makes browsing comfortable, especially for newcomers. They mention comparing nearly 100 sites, which suggests a fairly broad analysis of the market in 2026. That kind of effort can help users avoid unreliable options. The page about dota 2 gambling sites gives a clear overview of available platforms and their features. Overall, it feels informative without being too complicated.